
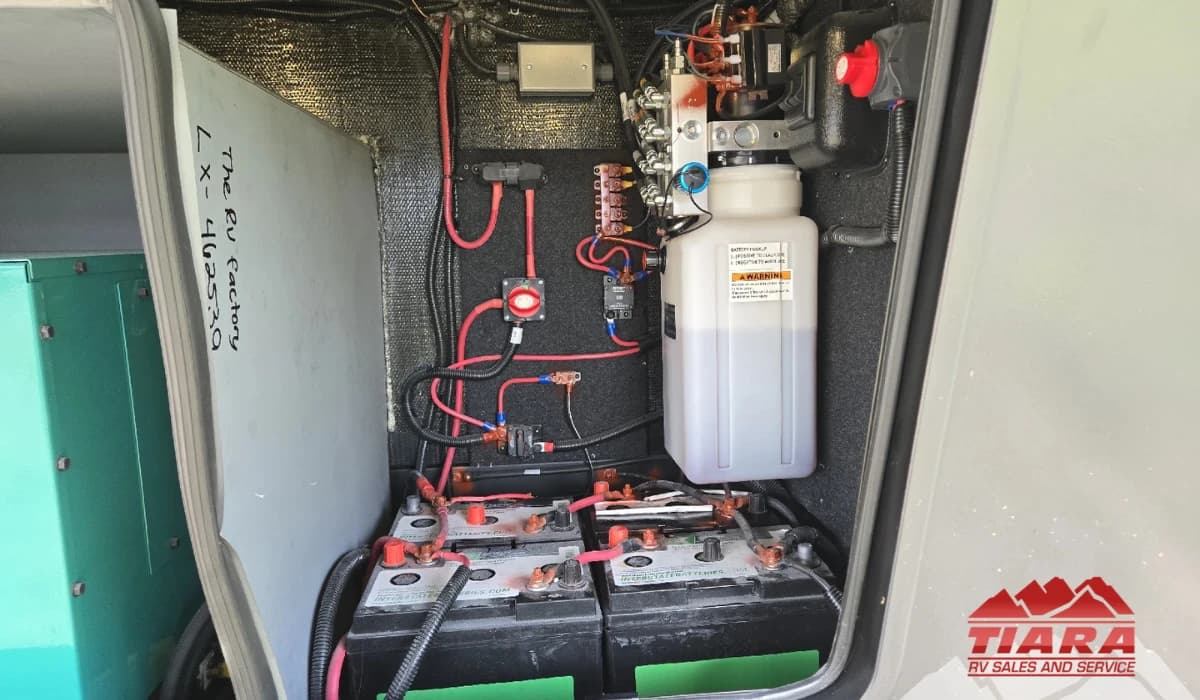
Proper RV winterization requires completing the water system purge, exterior seal inspection, and battery maintenance steps in the correct sequence, and skipping any one of them is the single most common cause of preventable spring damage across travel trailers and fifth wheels. At our RV parts department in Elkhart, the same categories of damage show up every spring: cracked water lines from an incomplete blowout, delaminated sidewalls from a seal that failed over winter, and batteries that will not hold a charge because they were stored discharged. This guide walks through every step in the correct order, with enough specificity to prevent the mistakes that produce those outcomes.
Why Fall Is the Right Time to Catch Problems - Before They Become Expensive Ones
Most RV owners approach winterization as a closing ritual rather than an inspection opportunity. That framing costs money. Fall is the ideal time to find problems because the camping season just ended, the unit is fully functional, and any issues can be addressed before they sit for three to five months and compound. A roof seal that is cracking in October is a minor maintenance event. The same seal after an Indiana winter, with freeze-thaw cycles forcing water into the gap repeatedly, is a subfloor repair.
The storage prep process should be approached as two distinct phases: active winterization of systems and fluids, and a documented inspection of the unit's exterior and mechanical condition before it goes into storage. Both phases matter. Neither replaces the other.
Phase One: Water System Winterization - Blowout vs. Antifreeze
The water system is the highest-risk area in any winterization process, and the method you choose needs to match your specific unit's plumbing configuration and your storage climate. There are two accepted methods, and they are not interchangeable for every situation.
The compressed air blowout method uses regulated air pressure to force all water out of the lines, tanks, and fixtures without introducing any chemical into the system. It is faster and leaves no residual taste in the water supply in spring. However, it requires a compressor capable of sustained output at the correct pressure, most manufacturers specify between 30 and 50 PSI for RV plumbing systems, with 50 PSI being a common upper limit before fittings and check valves are at risk. The blowout method also requires more attention to sequence: hot water heater bypass first, then each fixture in order, then the low-point drains. Units with complex plumbing configurations or multiple slides are more vulnerable to incomplete blowouts than simpler floorplans.
The antifreeze method uses RV-rated non-toxic propylene glycol antifreeze pumped through the system from a pickup tube at the fresh water tank. It provides more complete coverage in complex plumbing runs and is the safer choice for units storing in climates where temperatures will drop below zero for extended periods. The trade-off is that every line, fixture, and trap needs to be fully flushed in spring before the system is used for drinking water, and owners who skip the spring sanitization step will taste the antifreeze well into the camping season.
Many experienced owners use a hybrid approach: compressed air blowout to remove the bulk of the water from the main lines, followed by a small volume of antifreeze pumped through to protect low-point drains and P-traps that compressed air does not fully clear. This is the method most commonly recommended by certified RV technicians working in cold-weather regions.
Regardless of method, bypass the water heater before you begin. Running antifreeze through the water heater tank wastes product and is unnecessary. Draining the tank through the drain plug and leaving the bypass in place is sufficient for storage.
Phase Two: Roof, Seal, and Exterior Inspection Before Storage
Walk the roof before any unit goes into storage. Inspect every seam, vent collar, antenna mount, and skylight edge. What you are looking for is not dramatic failure; it is the early-stage cracking, lifting, or separation that will worsen through freeze-thaw cycling over winter. A seam that is 80 percent adhered in October will not be 80 percent adhered in April. Address anything that is not fully sealed before the unit goes under cover.
Use a sealant rated for your specific roof material. EPDM membranes, TPO roofs, and fiberglass cap roofs each require a different sealant chemistry, and using the wrong product on the wrong substrate reduces adhesion life and can cause further separation. If you are unsure which product your unit requires, the manufacturer's documentation or a parts counter staffed by people who work on these units daily will give you a definitive answer.
After the roof, inspect the sidewalls for delamination, bubbling, waviness, or soft spots in the exterior fiberglass. Early-stage delamination caught in fall is repairable at a manageable cost. Delamination discovered in spring after winter moisture penetration has extended the affected area is significantly more expensive to address. Press the sidewalls around every slide-out frame, window frame, and entry door with firm palm pressure. Any flex or softness in areas that should be rigid warrants a professional assessment before storage.
Document what you find. Photographs of roof seals, sidewall condition, and any areas of concern dated at the time of storage protect you if a warranty or insurance question arises in spring and provide a baseline for the following fall inspection.
Battery Storage: The Mistake That Kills Batteries Over Winter
Lead-acid batteries stored in a discharged state sulfate rapidly. Sulfation, the crystalline buildup on battery plates that occurs when a battery sits at low voltage, is the primary cause of the dead batteries that show up at service counters every spring. A battery that tests at 12.6 volts in October and is stored without a maintenance charger attached will be at or below 12 volts by December in most storage environments, and below 11.8 volts by March. At that point, the capacity loss is often permanent.
Connect a battery to a maintenance charger, not a standard charger, which will overcharge an unattended battery, before storage and leave it connected through the storage period if shore power is available. If shore power is not available, fully charge the battery, disconnect it from the unit, and store it in a temperature-controlled environment. Check and recharge it every four to six weeks through the winter.
Lithium batteries handle storage differently and at lower state of charge than lead-acid chemistry. Follow the manufacturer's specific storage guidance for your battery type; do not apply lead-acid storage protocols to a lithium system.
Propane System and Tire Storage Protocols
Close the propane service valve at the tank and leave it closed through storage. Leaving the valve open with the system unused allows micro-pressure fluctuations through the regulator that can accelerate regulator diaphragm wear over time. It also eliminates any risk of a slow leak going undetected in an enclosed storage space. In spring, perform a full propane leak test before relighting any appliances; this is a step that should be done by a certified technician if you are not comfortable testing the system yourself.
Tire storage is where the most avoidable spring expense originates. Tires that sit stationary under the weight of the unit for four to five months develop flat spots, areas of reduced roundness where the tire contact patch rested on the ground. Flat spots in steel-belted RV tires can be permanent. Cover tires with UV-blocking covers to prevent ozone cracking from UV exposure during outdoor storage. If the unit will be stored for an extended period, consider using tire cradles or moving the unit periodically to rotate the contact patch. Inflate tires to the manufacturer-recommended cold pressure before storage and recheck before the unit is towed in spring.
If you need antifreeze, sealants, battery maintainers, tire covers, or any other storage supplies, our RV parts department in Elkhart carries the products specified for Keystone and other major manufacturer units. If you want a certified technician to perform the winterization or complete a pre-storage inspection, our RV service department schedules pre-storage inspections through the fall season. You can also learn more about our dealership and service history on our About page.
Frequently Asked Questions
What is the best way to winterize an RV?
The most effective approach combines compressed air blowout for the main water lines and a small volume of RV-rated propylene glycol antifreeze pumped through low-point drains and P-traps that compressed air does not fully clear. Always bypass the water heater before beginning, drain it through the plug, and complete each fixture in sequence starting with the farthest from the water pump. The specific method that is best for your unit depends on your plumbing configuration and your storage climate; both blowout-only and antifreeze-only methods are appropriate for different situations.
How do I prepare my RV roof for winter storage?
Walk the full roof surface and inspect every seam, vent collar, antenna mount, and cap edge for cracking, lifting, or separation in the sealant. Reseal any area that is not fully adhered using a product rated for your specific roof membrane material. Photograph the condition of all seals before storage as a dated baseline record. Do not defer seal maintenance to spring; freeze-thaw cycling through winter will worsen any opening that exists in October, and the repair cost scales with the amount of moisture that enters through the gap over the storage period.
How should I store my RV battery for winter?
Lead-acid batteries must be stored fully charged and connected to a battery maintenance charger (not a standard charger) throughout the storage period wherever shore power is available. If shore power is not available, remove the battery, store it in a temperature-controlled environment above freezing, and recharge it every four to six weeks. A lead-acid battery stored in a discharged state sulfates rapidly, and the resulting capacity loss is often permanent. Lithium battery chemistry handles storage differently; follow the manufacturer's specific guidance for your battery type rather than applying lead-acid protocols.
What RV parts do I need for winterization?
A complete winterization kit typically includes RV-rated non-toxic propylene glycol antifreeze, a water pump converter kit or pickup tube, a blow-out plug for the city water inlet, a regulated air compressor adapter if using the blow-out method, roof sealant rated for your membrane type, a battery maintenance charger, and UV-resistant tire covers. The specific products appropriate for your unit depend on your roof material, battery chemistry, and plumbing configuration; a parts counter with manufacturer-specific experience will help you identify the correct products for your unit rather than relying on generic compatibility claims.
Contact Our Team to Schedule ServiceCall Parts: 574-264-2505